


Product Category
Tools,Hardware & Instruments > Material Handling Tools
Trademark
alclad


Business Type: Manufacturer
Main Products:ALUMINUM SHEETSAluminum Composite PanelsALUMINUM HONEYCOMB PANELSDOOR HANDLES
ID:20112043028
Tools,Hardware & Instruments Material Handling Tools
MOQ:1.00 Piece(s)
vacuum lifterIndustrial Vacuum Liftervacuum lifting machinelifting machinevacuum lifterssuction cranevacuum craneglass crane
L/CT/T
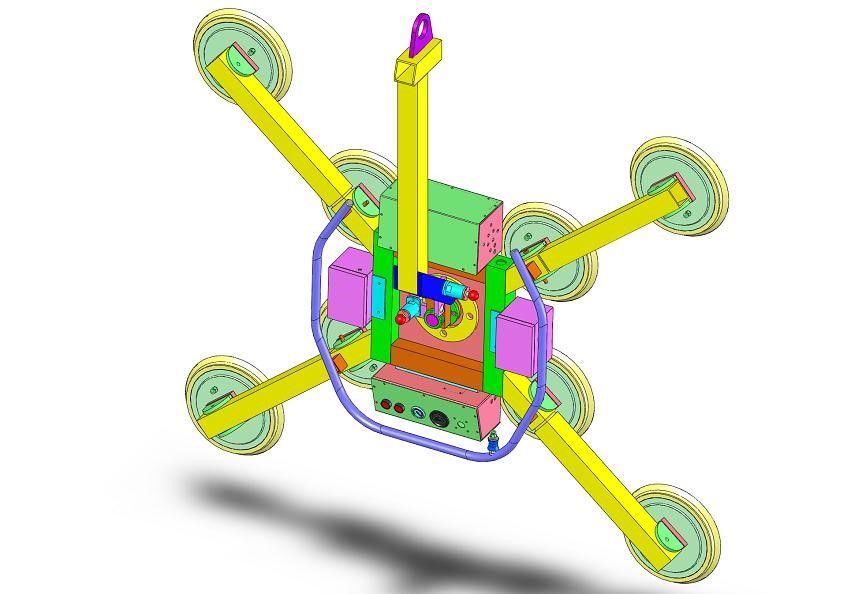
| maximu load | type | size of suction cups | swivell fuction | Turning | control mode | vacuum | Power | Weight | ||||||||
| 800kgs | LB800 | 300mm | 360degrees | 90degrees | manual | VT4.8 | 380V-50/60Hz-3Way | 180kgs | ||||||||
1,Components introductions
| S/N | Components | Description(If the corresponding component does exist) |
| 1 | Hook | To suspend the lifter on it. |
| 2 | Vacuum pump | To create vacuum power. |
| 3 | Vacuum gauge | To display the vacuum pressure inside the suction pad |
| 4 | Vacuum filter | To prevent dust and particles from getting into the vacuum pump |
| 5 | Vacuum non-return valve | To isolate the vacuum pump and the vacuum tank in case of a power failure and seals the vacuum. |
| 6 | Suction Pad | To seal the vacuum between the suction pad and the work piece |
| 7 | Manual slide valve | Manual control vacuum “suction” and “release” |
| 8 | Manual ball valve | Manually switch on/off the suction pad |
| 9 | Warning unit | Optical and acoustic signal goes off in case of a power failure or vacuum leakage |
| 10 | Main beam/Vacuum Tank | To supply storage vacuum energy in case of a power failure |
| 11 | Cross beam | Installed on the main beam, adjustable position, and the suction pads position are also adjustable. |
| 12 | Control handle | Hand control the direction of the vacuum lifter |
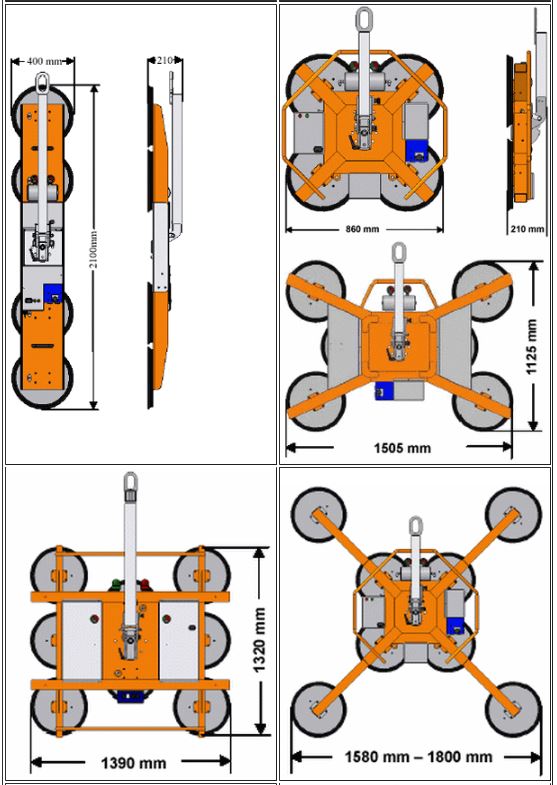
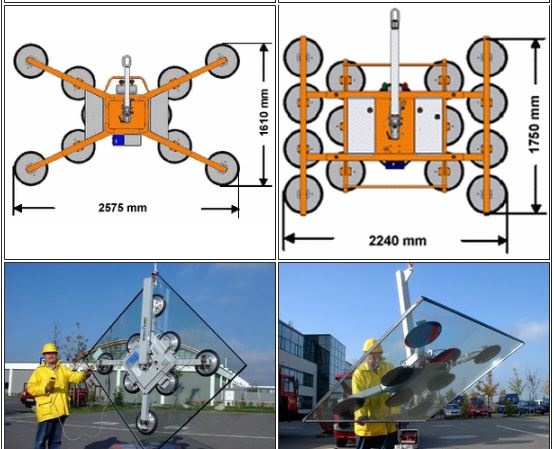
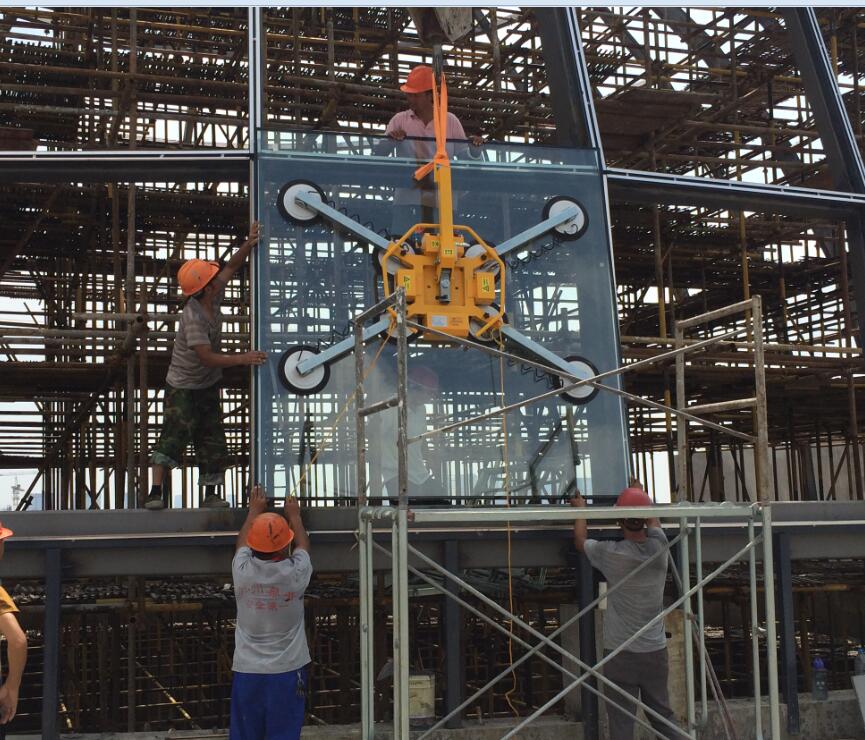
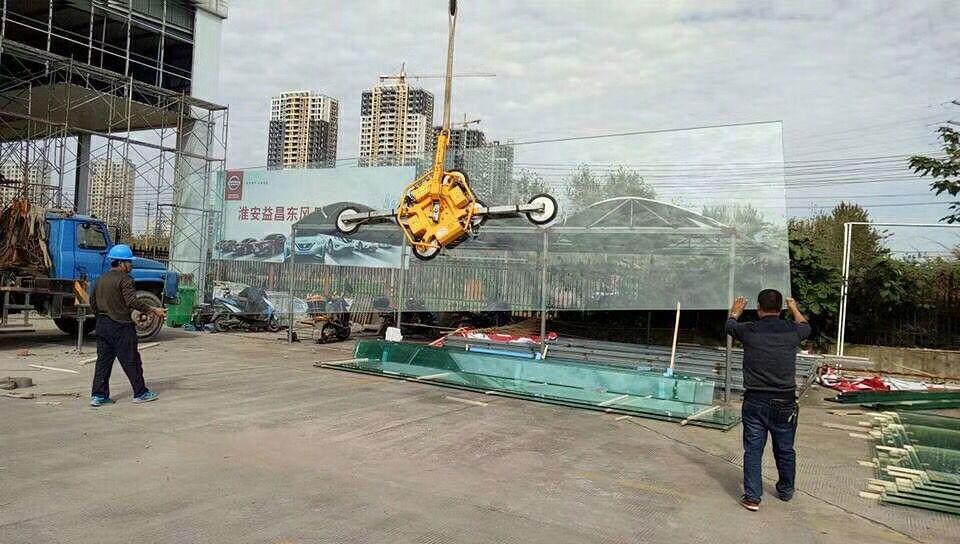
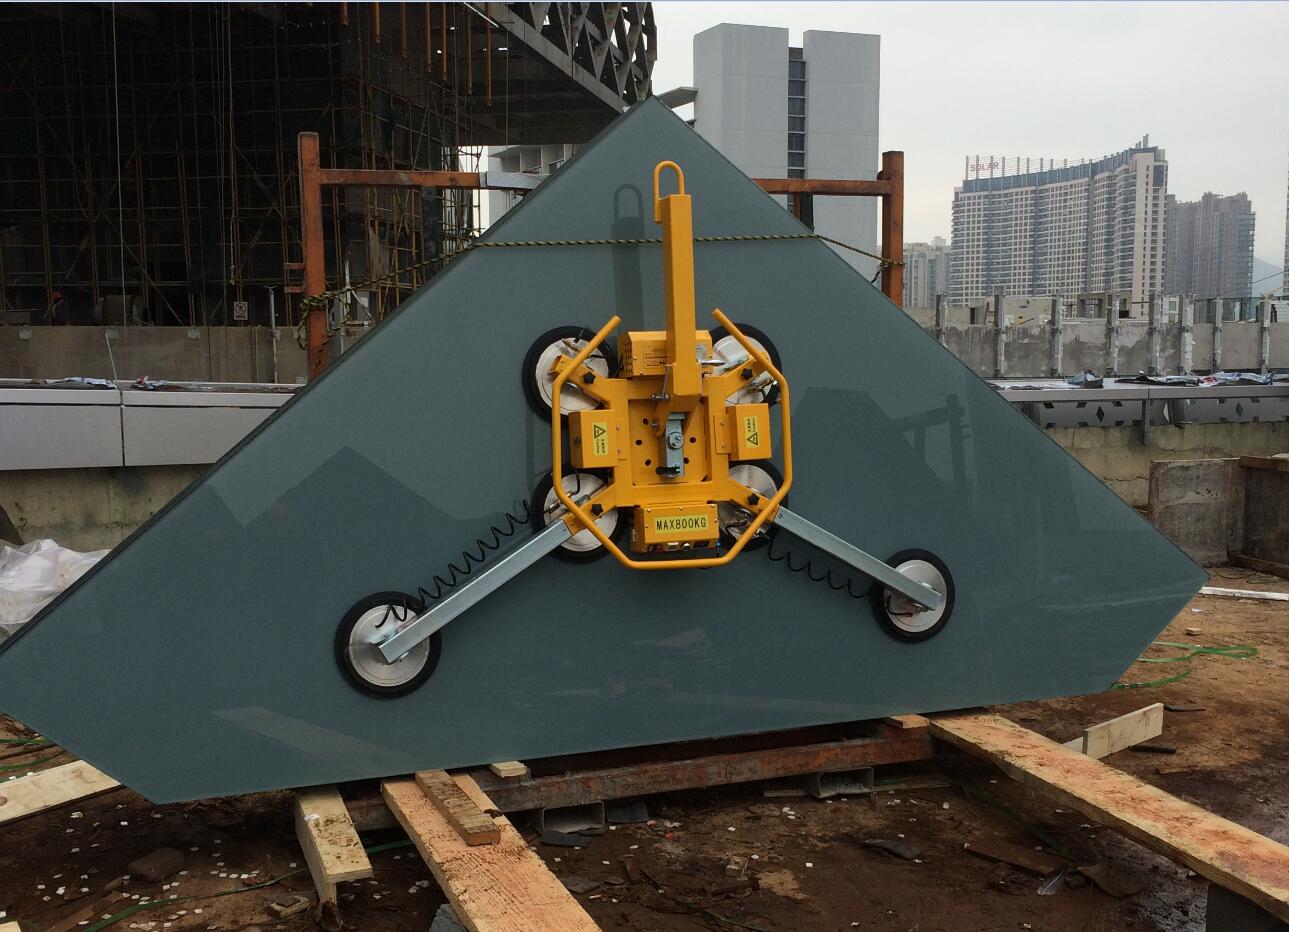
Device attachmen
While the device arrived and finished assembling, you have to check whether there is any loss or damage of the device, if so please contact your supplier officially immediately.
1,Electrical connection
Electrical connection
Switch on the switch, the vacuum lifter start working.
Electrical connection
Switch on the switch, the vacuum pump turn around, vacuum lifter start working.
The circuit must be connected by qualified electrician, and make sure the ground wire is connected.
Make sure the vacuum pump rotation direction is correct on accordance with the direction arrow marked on the pump rear shell, if the rotation direction is incorrect, shut down the power and just exchange the connection of any two wire.
2,Mechanical connection
Put the device on the crane hook by its suspension eye.
3,Vacuum pressure check
Put the lifter on a flat ground, and using dense material to do a test (such a smooth stainless steel board), and then start the pump, when the vacuum pressure reaches its max. level, shut down the power and wait for 5 minutes, and the vacuum pressure should not drop down from its max. Level to 60% within this 5 minutes, if not, check all the tube connection, tighten all the tube clamps if necessary.
Vacuum lifter handling
1,Vacuum lifter start-up
Switch on both the switch outside the control box and the circuit breaker inside the control box to start the vacuum pump. The vacuum inside the vacuum tank and the suction pads will be created, and during the process of vacuum pressure lower than 60%, the vacuum alarm goes off continuously, and will not stop until the vacuum pressure goes higher than 60%, and now the device is ready to lift a work piece.
2,Position of lifter
Control the crane to move and put the lifter onto a work piece gravity center, and the suction pad will engage the work piece very tightly by its soft rubber sealing ring.
3,Work piece adsorption
Switch on the hand-slide valve on the control handle, the suction pad is connected to vacuum system and the lifter will suck the work piece. The vacuum gauge will display the vacuum pressure inside the suction pad, and the lifter can start to transport when the vacuum pressure reaches 60%(-0.6kg/f).The suction process need about 7-8 seconds.
4,Lifting/Carrying the work piece.
Operate the crane to move the work piece to the assigned position.
5,Release the work piece
Switch off the hand-slide valve on the control handle and the suction pad is connected to the atmosphere. The vacuum pressure between the suction pad and the work piece vanished immediately, and the suction pad is separated with the work piece.
6,Repeated operation
Move the crane to next workpiece and repeat the step 1.
While the lifter is suspended under a hoist, the max. capacity of the lifter must be not exceed the hoist’s rated capacity.
If warning unit warns, please immediately put down the workpiece.
Never release the vacuum during handling.
Do not stand under the suspended items during handling.
Keep the area clear below the lifted work piece.
Switch on all the ball-valves on the suction pads to ensure the lifter capacity can reach its rated max. capacity.
Vacuum lifter placement
Please shut down the vacuum pump when the lifter is not used. And If the lifter will be idled for a long time, please put the leg brackets on the lifter cross beams, so that all the suction pads can be suspended freely.
Never place the lifter on the ground by using the suction pads hold, because if to do this the suction pads will be damaged by the lifter own weight. And air-tightness of suction pads also can be reduced.
Warning device
Each vacuum lifter is equipped with a vacuum pressure gauge and vacuum pressure switch
Vacuum gauge used for display of vacuum pressure.
Vacuum pressure switch used for automatic check system pressure, when the vacuum degree is lower than 60% closed, and transmit electrical signal to the warning unit.
The operator should always watch the pressure display of the vacuum gauge during the whole transport.
The warning unit is equipped with a chargeable DC battery, so that it can still warning and charging by automatic in case of a power failure (Load switch off status)
Business Type:Manufacturer
Online Supplier